A minor scratch on your car can expose the paint or metal beneath to harmful elements and substantially lower your vehicle's resale value.
Car scratch polishing doesn't need to be complicated. Your car might have three main types of scratches: clear coat scratches (usually shallow), primer scratches, and deep scratches. Many of these scratches can be fixed at home with proper techniques and tools.
Quick car scratch repair is a vital step because any delay leads to more damage eventually. Simple surface marks can be buffed out easily. Deeper scratches need more attention, but solutions exist for both. Most scratches can be handled through simple DIY methods, so there's no need to worry if you're new to this.
This piece explains how to identify scratch types, gather supplies, and apply professional-level techniques to remove scratches from your car. Small surface scratches can often be fixed at home with a scratch removal kit. Deeper problems might need specialized products or professional assistance.
How to Identify the Scratch Type Before You Start
The right repair method and prevention of additional damage depend on identifying the type of scratch on your car's finish.
Use the fingernail test.
A simple fingernail test helps determine how deep a car scratch goes. Your fingernail should glide smoothly across the scratch. A smooth glide indicates a Level 1A surface scratch that only affects the top clear coat layer. The nail might catch slightly with a Level 1B deeper clear coat scratch. A more noticeable catch with a definite edge suggests a Level 2 base coat scratch that needs extra attention.
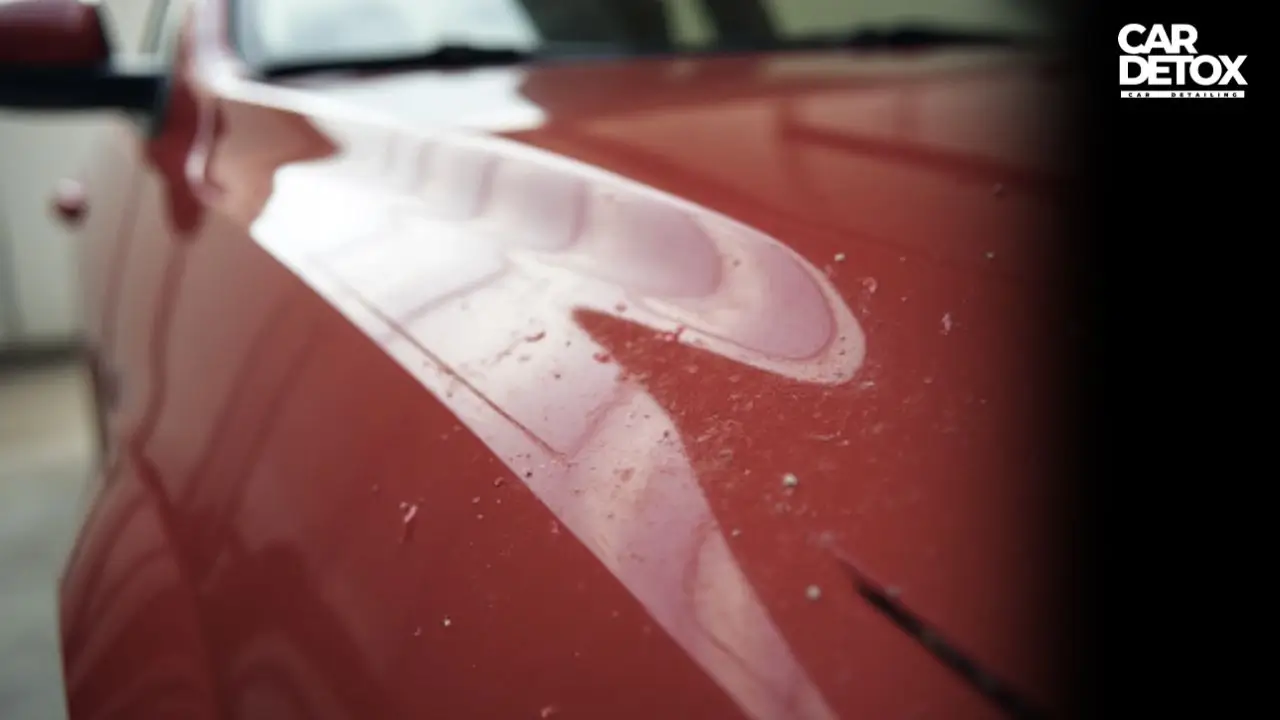
Check for exposed metal or color changes
The scratch's color reveals important details about its severity. Look for these signs:
- No color change: Points to a clear coat scratch
- White or gray visible: Indicates penetration to the primer layer (Level 3)
- Metallic silver visible: Shows exposed metal (Level 4) that needs quick attention to stop rust
White or grayish lines appear where scratches penetrate both the clear coat and paint layers, reaching the primer. The most severe scratches expose your car's bare metal body, showing bright metallic silver.
Understand paint layer structure.
Your vehicle's paint has several distinct layers that serve specific purposes. These layers stack from top to bottom:
- Clear coat (40-50 microns thick): A protective transparent layer that creates shine
- Base coat/color layer (15-25 microns thick): The layer that gives your vehicle its color
- Primer (20-30 microns thick): A preparation layer that helps paint stick to metal
- E-coat and phosphate treatments: These bond with the metal body
This layered structure helps you evaluate scratch depth. Different types of scratches need different repair approaches - from basic polishing of clear coat damage to complete repainting of metal-exposing scratches.
What You’ll Need to Fix Car Scratches at Home
The right tools make a huge difference in fixing car scratches at home. You need specific supplies based on how deep the scratch goes. These supplies help you get results that look professional.
Polishing compound and microfiber cloth
Quality polishing compounds are the foundation of car scratch repair. Pick products made just for cars - household polishes might have harsh chemicals that hurt your paint. A good polishing compound uses fine abrasives to remove a tiny layer of clear coat, which levels out surface scratches.
Your polish needs premium microfiber cloths - paper towels or regular rags will just create more scratches. Applicator pads help spread the polish evenly across the surface. Work the compound in circles, then use a clean microfiber cloth to buff until you see a shine.
Sandpaper and rubbing compound
Deep scratches need wet sandpaper in different grits. Begin with 1500-2000 grit sandpaper to smooth things out, then move to finer 2500-3000 grit to finish. Let the sandpaper soak in water for 10-15 minutes first. Sand in straight lines that run parallel to the scratch.
A rubbing compound restores shine after sanding. It works harder than polishing compounds to remove sanding marks. Use a foam pad to apply it with light pressure in overlapping motions.
Touch-up paint or clear coat pen
Scratches that reach the color layer or primer need touch-up paint that matches your car's color code. Your car's color code lives on the driver's door jamb, inside the glove box, or under the hood. Touch-up paint comes as pens, bottles with brush applicators, or spray cans.
Clear coat pens work great on shallow scratches that haven't cut through the paint. They let you apply the product precisely and protect the damaged spot.
Optional: toothpaste or WD-40 for light scratches
Regular household items can fix tiny surface scratches. White, non-gel toothpaste that contains mild abrasives works like a fine polishing compound. Put a small amount on a damp cloth and rub in circles.
WD-40 fills tiny imperfections to improve how light scratches look. It's not permanent, but it works as a quick fix until you can properly repair the damage.
DIY Methods to Polish Out Scratches Like a Pro
Got some ugly marks on your car? Let's look at some DIY techniques that really work for different types of scratches.
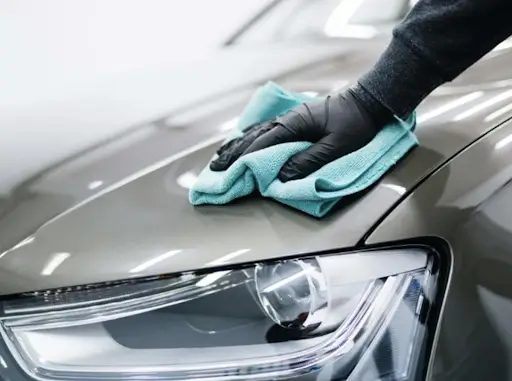
Buffing with polish for surface scratches
Clear coat scratches need proper buffing to fix them right. Start by cleaning and drying the damaged spot really well. Put a dime-sized amount of scratch remover on your microfiber cloth. Work it into the scratch with firm pressure using circular motions for about a minute. Let it dry and wipe off any extra product with a clean microfiber towel. You might need to do this 2-3 times until the scratch goes away.
Using toothpaste or petroleum jelly
Common household items can fix minor surface scratches. White, non-gel toothpaste with mild abrasives works just like polishing compounds. Take a pea-sized amount on a soft cloth and rub it in circles until the mark disappears. Another option is petroleum jelly - it fills small imperfections temporarily. Just clean the spot and add a thin layer over the scratch.
Applying touch-up paint for deeper marks
Deeper scratches that reach the paint layer need touch-up paint that matches your car's color code. Add several thin coats instead of one thick layer. Thick paint will skin over and sink, leaving an ugly divot. Each layer needs 2-4 hours to dry before you add the next one. Finish with a clear coat to protect your work.
Sanding and repainting for primer-level damage
Deep scratches showing primer or metal need more extensive repairs. Sand the area with progressively finer sandpaper - start with 800-grit and work up to 2000-grit. Clean the area with isopropyl alcohol and add primer. Once it dries completely, sand it with 2000-grit paper. Add thin layers of color-matched paint and finish with a clear coat after everything cures.
When to Call a Professional for Car Scratch Repair
You might try fixing car scratches yourself, but some situations just need a professional's touch. Here's how to know when it's time to get expert help to save your time, money, and car from further damage.
If metal is exposed or rusting
A scratch that goes down to bare metal needs professional repair right away. Your car's metal surface can start corroding quickly, especially if you live somewhere humid or rainy. Rust spots around the scratch are a clear sign that damage has reached the metal under your paint. Rust doesn't wait - a tiny spot can take over entire panels faster than you'd expect. Putting off repairs at this point could hurt your car's structure and knock 10-15% off its value.
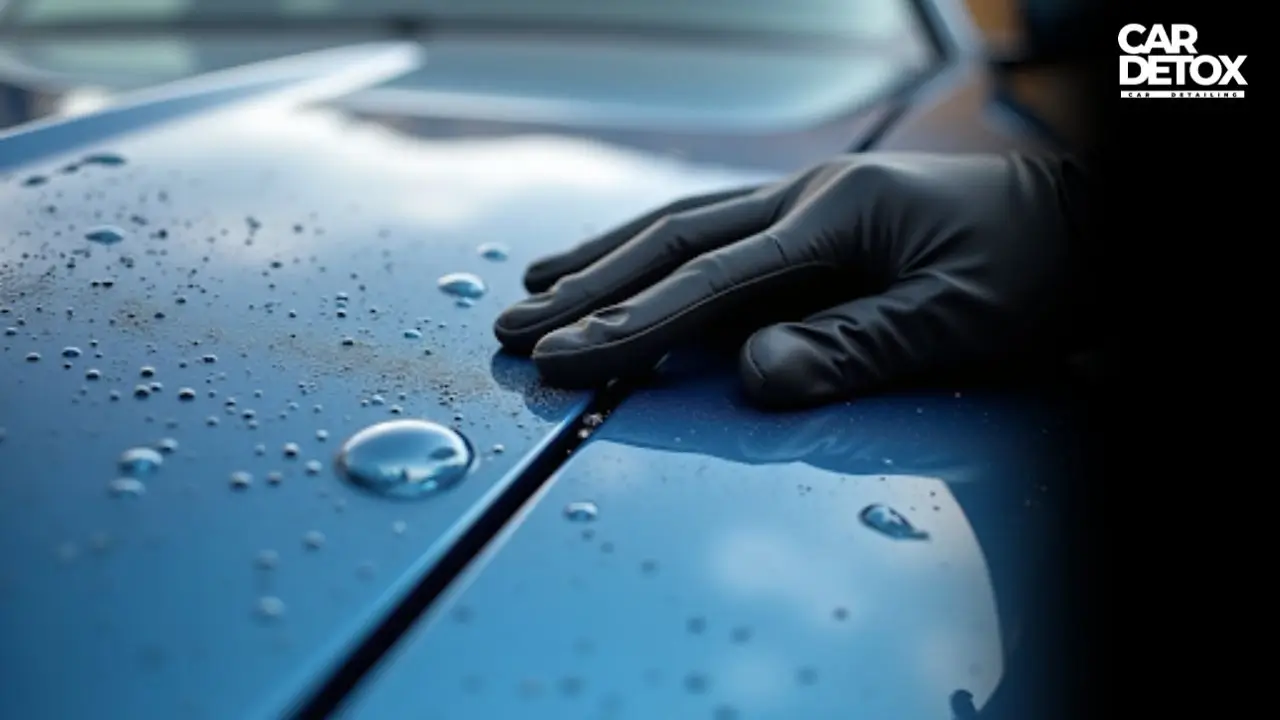
When DIY Isn't Sufficient
Should scratches persist after multiple DIY attempts, consult a detailing specialist. Professionals utilize industrial-grade tools and techniques beyond typical consumer capabilities. For complex repairs or if you lack confidence in the process, expert intervention ensures correct resolution on the first attempt – often with service warranties unavailable for self-performed work." Trust Car Detox to provide comprehensive, high-quality detailing that protects and revitalizes your vehicle. Book your appointment today for exceptional service and lasting results
FAQs
Easiest way? Just run your fingernail over it. If your nail catches, yeah… It’s probably a deeper one. If it feels smooth, you’re likely dealing with just a surface mark. Another clue is the color. If it still looks like the paint color, you’re fine. If you see white or gray, it’s down to the primer.
For light marks, sure. Toothpaste works surprisingly well; rub a bit on with a damp cloth in small circles. WD-40 can also make little scratches less obvious, but that’s more of a “looks good for now” thing. Deep ones? Nah, you’ll need proper repair for those.
If you see bare metal or rust, don’t mess around; get it fixed before it spreads. Same if you’ve got a bunch of deep scratches or you’ve tried a couple of times and it still looks bad. A pro will match the paint and finish so it’s like it never happened.
For the small stuff, just a polishing compound and a microfiber cloth will do. If it’s deeper, you might need fine sandpaper, rubbing compound, and touch-up paint that matches your car’s code. Clear coat pens are handy, too, for little top-layer marks.
Clean the area first. Then do thin coats of paint, not thick ones. Let each coat dry for a couple of hours before the next. When the colors are built up, finish with a layer of clear coat so it’s protected. Oh, and make sure the paint color matches your car exactly; otherwise, it’ll stand out more than the scratch.


Revive your ride anytime, anywhere
Schedule AppointmentQuestions? Call us now!