Want to know how to clean headlights without breaking the bank? Skip that $30 restoration kit - your regular toothpaste can work just as well.
Today's car headlights use thick polycarbonate plastic that makes them tough and resistant to scratches. The sun's UV rays break down the outer layers as time passes, which creates that annoying foggy look. When this happens, your headlights start soaking up blue light and give off a weak, yellowish glow.
The good news? You can clear up those foggy headlights right at home. Common items like toothpaste and baking soda pack just enough grit to cut through the fog without hurting the headlight surface. On top of that, simple fixes like vinegar can make plastic headlight lenses sparkle again.
Let me show you in this piece how to turn those cloudy headlights crystal clear in minutes. Whether you prefer using stuff from your kitchen or professional restoration methods, you'll find the best ways to make your headlights shine like new again.
Why Headlights Get Foggy
Your car's headlights might look cloudy or yellow lately. This common problem affects almost every vehicle as time passes. You should know what causes this to keep your car safe and looking good.
What causes foggy headlights
Car makers use polycarbonate plastic instead of glass to make modern headlights. This material resists shattering and lasts longer. However, several things can make these headlights look worse:
- Oxidation: The plastic surface reacts with oxygen in the air and turns cloudy, which cuts down light output by a lot
- Environmental pollutants: Acid rain, smog, and industrial chemicals speed up the damage
- Road debris: Tiny rocks, dirt, and sand create small cracks that scatter light instead of beaming it forward
- Temperature fluctuations: Hot and cold changes stress the plastic as it expands and contracts
- Broken seals: Failed watertight seals let moisture build up inside, where you can't clean it
Strong cleaning products or rough materials can damage the protective coating. This makes your headlights fog up faster. Road salt in winter areas adds to this problem, too.
How UV rays and oxidation affect plastic lenses
The sun's ultraviolet rays are the biggest enemy of your headlights. Here's what happens:
New headlights come with a UV-resistant coating from the factory. The sun's rays wear this protective layer down over time. UV rays start breaking down the plastic's outer layers. Once this happens.
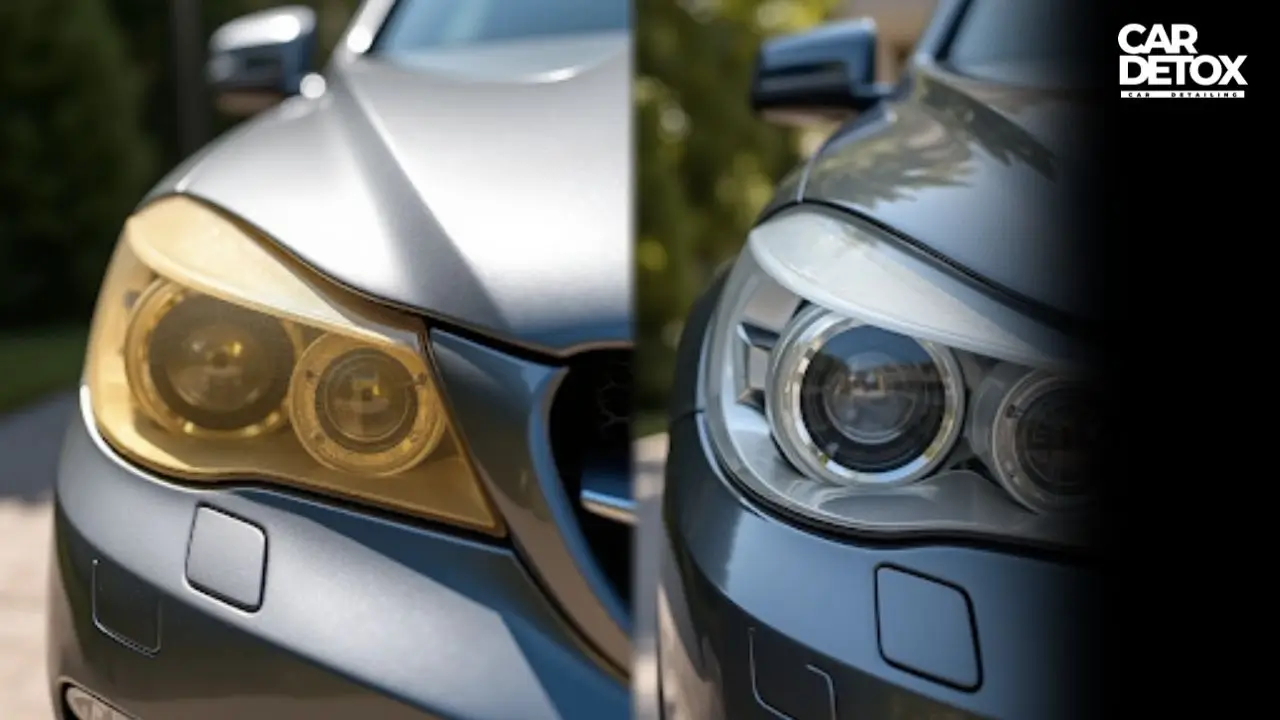
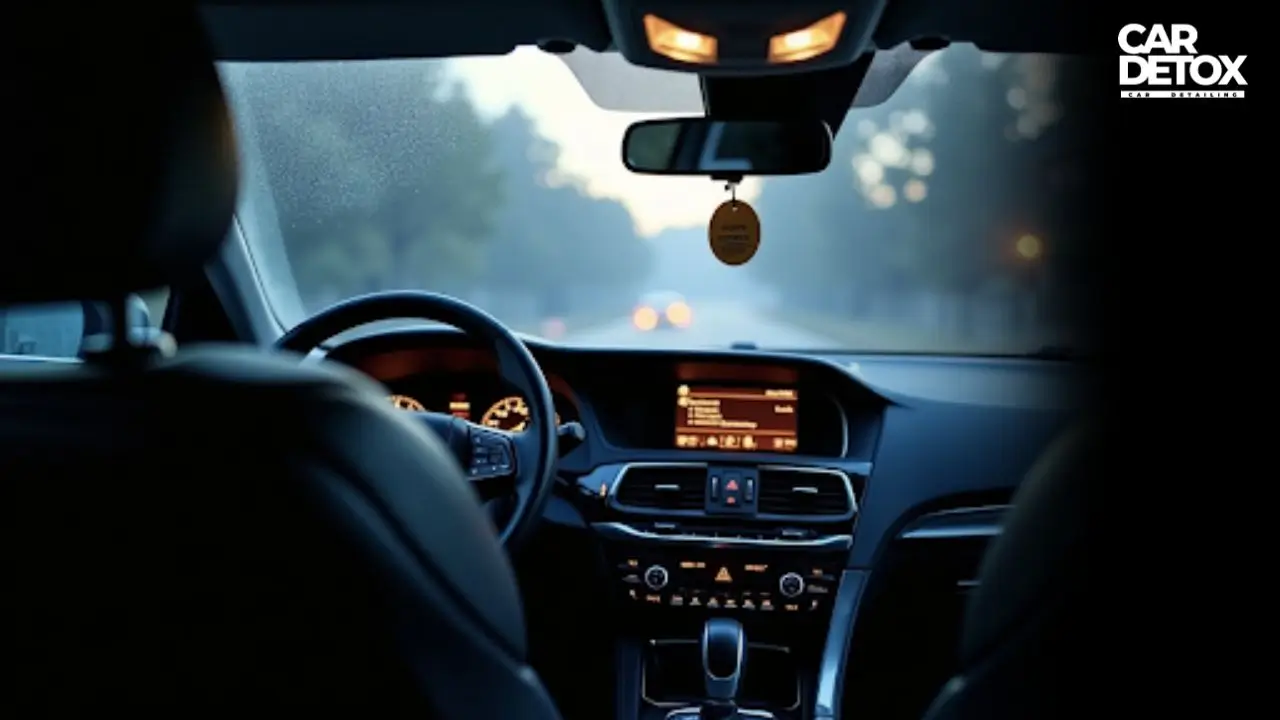
The clear plastic turns yellowish as oxidation takes hold. This yellow tint isn't just about looks - your headlights absorb more blue light from the bulbs. The beam turns yellow and weak. Your nighttime visibility drops up to 50%. This makes driving at night nowhere near as safe.
Cars that stay outside a lot show these problems sooner. The good news? Now that you know what causes the damage, you can pick the quickest way to clean and restore your headlights to their clear state.
How to Clean Headlights with Household Items
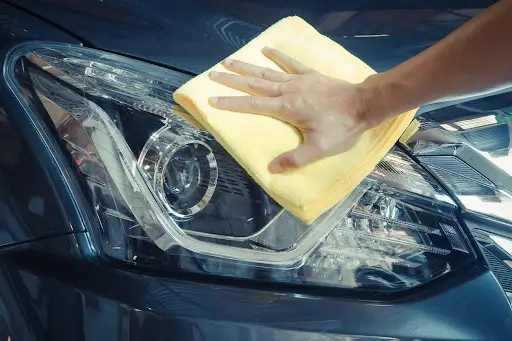
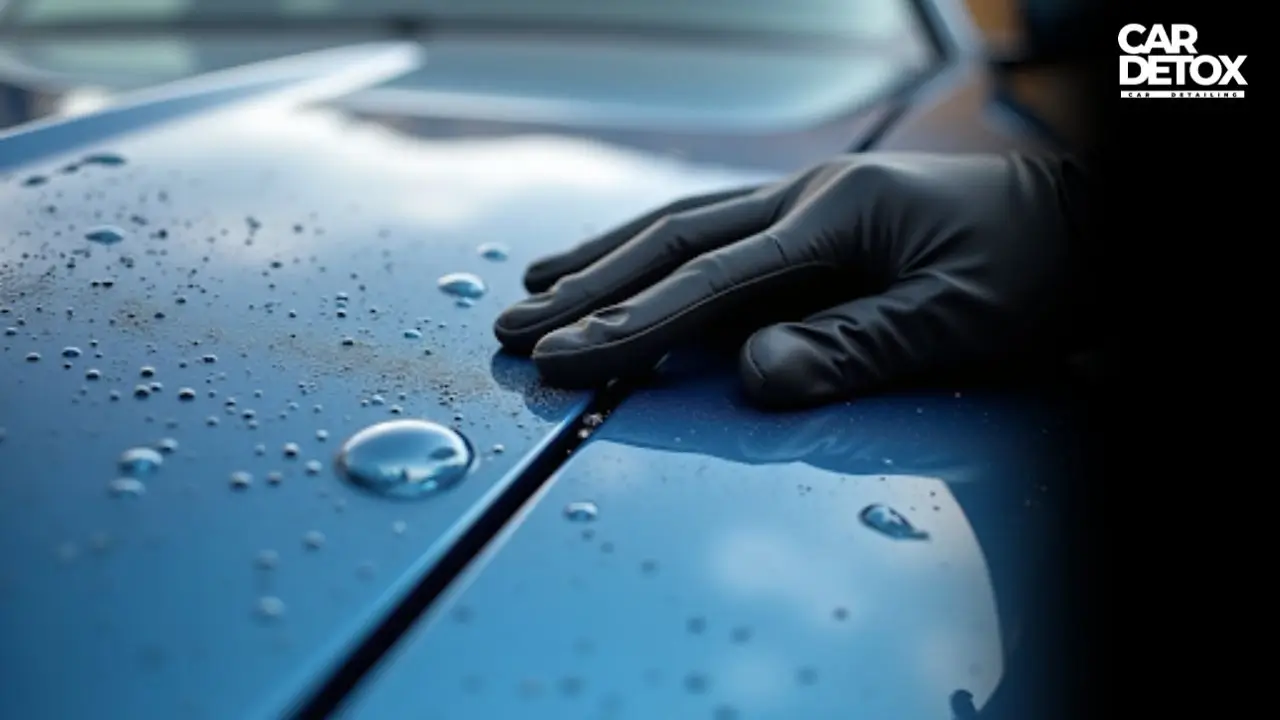
Your cloudy headlights need fixing, but you don't want to break the bank. You can clean them with common household items without spending money on expensive products or professional help.
Using vinegar and baking soda
This dynamic duo does wonders on oxidized or very cloudy headlights. Vinegar's acidic properties dissolve dirt and grime. Baking soda adds the gentle scrubbing power you need.
Here's how to make this cleaning solution:
- Mix two parts distilled white vinegar with one part baking soda in a clean container
- Stir until you get a paste-like mix
- Use a microfiber cloth to apply it in circles
- Take your time on each headlight
- Rinse well with clean water
Your results will be better if you wash the headlights with car soap first. You might need to do this twice.
Toothpaste method explained
The mild abrasives in regular toothpaste that clean your teeth also work magic on headlights! This trick works great if your headlights are just slightly foggy.
Get started with these steps:
- Clean your headlights with soap and water
- Put masking tape around the edges
- Add a thin layer of non-gel toothpaste (whitening types work best)
- Rub firmly in circles for 5 minutes on each headlight
- Rinse well and dry completely
A coat of car wax helps keep oxidation away after cleaning.
Window cleaner: when and how to use it
Window cleaner handles light fogging and everyday dirt well. It's your best bet for regular cleaning rather than fixing badly oxidized headlights.
Here's what you should do:
- Put tape around the headlights to keep paint and trim safe
- Spray plenty and wait 30 seconds
- Scrub with a microfiber cloth
- Try up to three times if needed
Adding automotive polish and car wax after cleaning makes the results last longer. Polish removes leftover haze, and wax gives UV protection to stop quick refogging.
These simple methods help keep your lights clear and your car looking good without special tools.
Using Headlight Restoration Kits
Restoration kits clean heavily oxidized headlights better than household remedies. These specialized solutions give professional-quality results and cost much less than replacement headlights.
What's included in a kit
Quality restoration kits come with:
- Sandpaper or sanding disks (typically 400-3000 grit)
- Polishing compound or clarifying solution
- UV-protective sealant or clear coat
- Applicator pads and microfiber cloths
- Optional drill attachments for power sanding
Prices range from $10-$30. Sylvania, Mothers, 3M, Cerakote, and Chemical Guys make some of the best kits.
How to follow the kit instructions properly
Clean your headlights first and tape around them to protect the paint. The restoration process is simple:
- Sand with progressively finer grits to remove oxidation
- Apply polishing compound to restore clarity
- Add UV sealant to prevent future yellowing
Make sure you work in the shade. Most sealants need 4-6 hours to cure properly.
When to choose a kit over DIY
Restoration kits work best on severely yellowed or hazed headlights that home remedies can't fix. These kits are a great way to get UV protection that makes results last longer, though effects usually last 6-18 months. Professional services give longer-lasting results, but kits provide excellent value if your headlights have moderate damage.
Advanced Method: Wet Sanding and Polishing
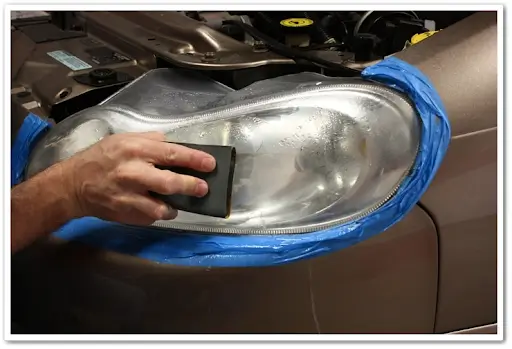
Wet sanding works best to fix heavily oxidized headlights. This technique removes the damaged surface layer and makes even the cloudiest lenses crystal clear.
What you need for wet sanding
You'll need these key supplies to restore your headlights like a pro:
- Protective gloves and eye protection
- Masking/painter's tape to protect the surrounding paint
- Sandpaper sheets (600, 1000, 2000 grit at minimum)
- Spray bottle with water (add a few drops of soap as a lubricant)
- Microfiber towels
- Plastic polishing compound
- Flannel polishing cloth
- UV-resistant sealant
Step-by-step sanding process
Start by cleaning your headlights with soapy water. Protect the surrounding paint areas with tape. Sand with 600-grit paper using horizontal strokes until the foggy layer disappears. Move on to 1000-grit sandpaper and use vertical strokes while keeping the surface wet. The final step uses 2000-grit paper horizontally to smooth out the surface.
Polishing and applying UV sealant
Clean the surface with alcohol to remove any leftover debris. Use a flannel cloth to apply polishing compound in circular motions until the headlight turns clear. The headlight needs three thin coats of UV sealant to prevent oxidation. Wait 5-15 minutes between each coat. The sealant should cure in a dust-free space for 24 hours.
Conclusion
Restoring foggy headlights not only transforms your car's appearance but also substantially improves your safety during night drives. Clear visibility is vital to avoid road hazards.
You can achieve crystal clear headlights through several quick methods. Headlights don’t stay clear forever. A little fog or haze can usually be cleaned with toothpaste, vinegar, or one of those quick DIY tricks. But if they’re really cloudy or yellow, you’ll need something stronger like a kit, or even wet sanding, to get them looking right again.
Once you’ve cleaned them up, put a UV sealant on. That step is important — it helps keep the lenses clear longer and slows down the sun damage. Skip it, and you’ll be back to cloudy headlights faster than you think.
Say goodbye to foggy headlights! Learn the quickest way to restore clarity—and book a professional headlight restoration with Car Detox for long-lasting results.
FAQs
Every few months is fine. About 3–6 months, depending on how much sun your car gets.
It’ll take off dirt, but it won’t fix cloudy or oxidized lenses. For that, you need something stronger — toothpaste, baking soda, or a proper headlight cleaner.
Yes, if you’re careful. Wet sanding with fine sandpaper can clear heavy oxidation. Just finish it with UV sealant, or they’ll haze up again.
Depends. A quick DIY clean might hold up for a few months. A pro job or a good kit can last a year or two with proper care
Absolutely. Cloudy headlights cut brightness by almost half, which makes night driving riskier. Clear lenses mean better vision and safer driving.


Revive your ride anytime, anywhere
Schedule AppointmentQuestions? Call us now!