Did you know that the buildup of grease and road grime during engine bay cleaning can affect your car's performance?
The engine bay remains one of the most neglected parts of many vehicles. Most car owners never clean this area. Their negligence turns it into a breeding ground for dirt and grime that can lead to corrosion and component failure.
A clean engine bay matters to me and with good reason, too. The benefits are clear - it looks amazing, increases resale value, and makes maintenance work easier. Clean engine bays also help you spot leaks or failing parts quickly before they cause serious problems.
Let me show you the best way to clean engine bay components safely and effectively. We'll explore the right engine bay cleaning products, proper techniques to clean your car's engine compartment without damaging sensitive parts, and steps to achieve professional-looking results. This piece covers everything you need, whether you're cleaning for the first time or want to improve your technique.
Prepare Your Engine Bay Safely

Safety first! Proper preparation builds the foundation of successful engine bay cleaning. These precautionary steps prevent damage to sensitive components and keep you safe.
Let the engine cool completely.
Your engine must be completely cool before you start any cleaning work. Water or cleaner sprayed on a hot engine can cause serious problems:
- Rapid temperature changes might create cracks in engine components
- Hot surfaces make degreasers evaporate quickly, reducing their effectiveness
- You could burn yourself on hot engine parts
The engine needs at least 30 minutes to cool after you turn it off. Some experts suggest letting it cool until it feels completely cold. This cooling period matters a lot - never clean an engine that ran recently, whatever outdated advice you might have heard about "sealing off" components with steam.
Disconnect the battery terminals.
The battery must be disconnected before any moisture touches your engine bay to prevent electrical damage or accidents:
- Locate the battery (usually under the hood, though some vehicles have it in the trunk)
- Use a wrench or socket (often 10mm) to disconnect the negative terminal first
- Next, disconnect the positive terminal
- Keep the cables away from metal parts to prevent accidental reconnection
Your engine could suffer short circuits or electrical damage if water contacts electrical components without this step.
Cover sensitive components
Modern engines have many electronic components that don't mix well with water. These areas need protection with plastic bags, waterproof covers, or aluminum foil:
- Alternator
- Air intake
- Fuse box
- Distributor (on older vehicles)
- Engine control unit
- Exposed electrical connections
- Coil packs
You can add extra protection by covering sensitive parts with a microfiber towel first, then adding a plastic bag secured with electrical tape. This double-layer method gives you more protection against moisture.
These preparatory steps, done carefully, will help your engine bay cleaning go smoothly without damaging your vehicle's vital components.
Remove Loose Dirt and Debris
The next critical step in engine bay cleaning comes after proper preparation - removing loose debris. Many people overlook this step that prevents dirt from spreading during wet cleaning and cuts down hand cleaning time later.
Use a vacuum or blower for dry debris.
Your engine bay maintenance needs to start with dry cleaning. A leaf blower or air compressor will blast away most loose dirt without adding moisture. People who don't have these tools can use a shop vacuum with a blower function instead.
My experience shows dirt builds up in several key spots:
- The space between the hood and the windshield
- Around the battery compartment
- Beneath plastic covers and shields
- Corner crevices where leaves and pine needles collect
Brush off dust from tight areas
Some stubborn dirt stays behind in hard-to-reach places even after thorough air cleaning. I use soft-bristle brushes to remove remaining dirt without causing damage to these spots.
These brushes work best:
- A soft paintbrush for delicate components
- A clean toothbrush for very tight spaces
- A detail brush for moderate-sized crevices
You need to be gentle here; never use force that could dislodge components or damage surfaces. Rubber gloves protect your hands from dirt and sharp edges.
Avoid disturbing wiring or sensors.
Modern engines have many electronic parts that can break easily if handled roughly. You must be careful around these sensitive components.
Remember these points when removing debris:
- Don't apply pressure to wiring harnesses
- Keep sensor connections undisturbed
- Leave all components in their original positions
- Be gentle near plastic tubing
I carefully move wiring harnesses aside to clean underneath, but always put them back exactly where they were.
This careful approach removes all loose debris while protecting your engine bay's components.
Clean and Degrease the Engine Bay
The deep cleaning phase of your engine bay project starts now. You've finished the prep work and removed loose debris, so let's tackle that built-up grime.
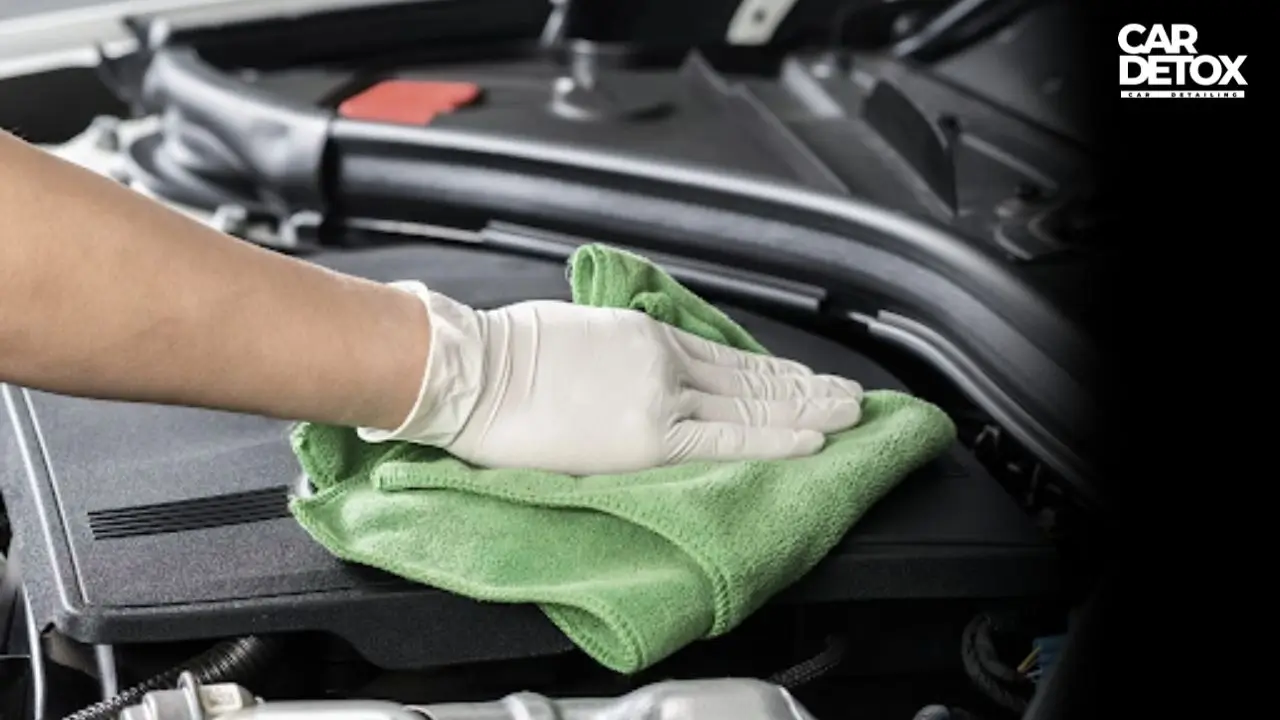
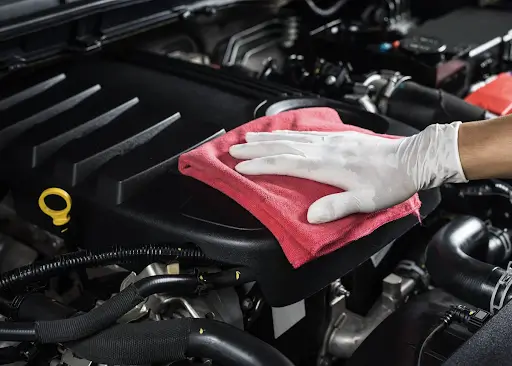
Scrub with soft brushes and microfiber cloths
A soft-bristled brush helps work the degreaser into the dirt. Wheel brushes work great for large flat surfaces, while detail brushes are perfect for tight spaces. A toothbrush can help with those tough spots. Remember to scrub carefully around sensors and electrical connections to prevent damage. Here's what works best:
- Soft synthetic bristles for delicate components
- Medium pressure on heavily soiled areas
- Start at the top and work your way down
Use a bucket of warm water for rinsing
Warm, soapy water does a great job rinsing away dissolved grime. Mix warm water with mild detergent in a bucket and wipe surfaces with clean microfiber cloths. This method gives you better control than spraying water directly, which makes it perfect for sensitive engine bays.
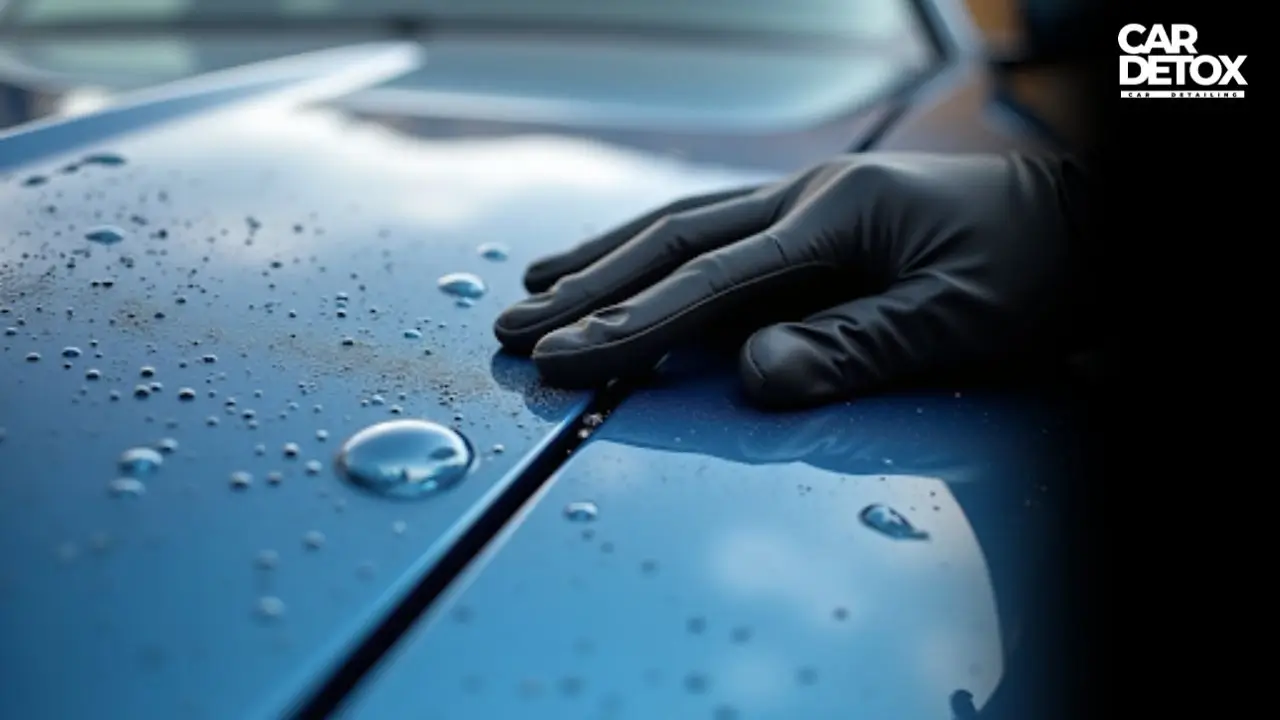
Avoid high-pressure water sources
High-pressure water can seriously damage your engine's electrical components. Protective coverings won't always stop pressurized water from getting where it shouldn't. Stick to low-pressure garden hose rinsing or the bucket method mentioned above. When using a hose, keep your distance and use light pressure to protect sensitive areas.
Finish and Protect the Surfaces
Your engine bay transformation's final phase focuses on proper drying and protection of all surfaces to achieve that professional finish. This crucial step will give your components a longer life and make future cleanings easier.
Dry with microfiber towels or compressed air
A complete cleaning needs thorough drying to prevent water spots and potential electrical issues. Take a premium microfiber towel to absorb moisture from all available surfaces. Compressed air works great for those hard-to-reach spots, especially when you need to blow out standing water from electrical connections.
The basic drying should be followed by running your engine for 30-40 minutes. This helps evaporate any remaining moisture. Your engine's heat speeds up the drying process and prevents corrosion or electrical problems.
Apply plastic or rubber protectant.
A quality protectant should go on all plastic and rubber components once everything dries completely. Non-silicone engine dressings work best since they won't harm electrical components. These products create a satin finish that looks factory-fresh and helps with future cleanings.
You can lightly spray the protectant or use a foam applicator pad on plastic surfaces. A thin, even coat does the job - no need to overdo it. Let your engine's heat help spread the dressing evenly for the best outcome.
Inspect for leaks or worn parts.
This gives you a chance to get into your engine bay details. Look out for:
- Leftover grime or cleaning solution
- Leaks around hoses, gaskets, and seals
- Loose connections, particularly electrical ones
- Strange stains that might signal developing problems
This close look can help you spot warning signs before they turn into serious problems.
Conclusion
A clean engine bay is nowhere near just about looks. This piece has covered everything from prep work to protection. Your engine compartment needs proper cleaning, which leads to easier maintenance, longer-lasting parts, and early detection of what could go wrong.
Most people ignore their engine bays until something breaks down. The best approach is to add this cleaning task to your regular maintenance - maybe even every 3-6 months based on how much you drive. This routine will make each cleaning job faster and keep your car running at its best.
Next time you look under the hood, you'll see the professional results of your work. Your engine will reward you with solid performance, and you'll catch problems before they turn into costly fixes. A clean engine bay shows how well you take care of your car, something that matters now and when you decide to sell. Trust Car Detox to provide comprehensive, high-quality detailing that protects and revitalizes your vehicle. Book your appointment today for exceptional service and lasting results.
FAQs
Yeah, you can use water, but you’ve got to be smart about it. Don’t grab a pressure washer and blast away; that’s just asking for trouble. Stick to a garden hose on low pressure, or even a bucket and sponge. Make sure the engine’s cool first (seriously, don’t skip that). And cover up anything that doesn’t like water, things like the alternator, battery terminals, and exposed wiring. Treat it more like a careful rinse than a power wash.
A citrus-based degreaser is my go-to; the stuff made for cars, not kitchen counters. Spray it on the dirty spots, let it sit about 10 minutes so it can loosen the grime, then grab a soft brush and work it in. Don’t rush. Rinse gently with warm water, but again, no blasting it. You’re cleaning, not pressure-testing your wiring.
It depends on where and how you drive. If you’re in dusty or wet conditions a lot, every few months is smart. If the car stays mostly clean, you can stretch it to twice a year. The thing is, keeping it tidy makes spotting leaks or worn parts way easier, and a clean engine tends to run cooler. Plus… it just feels good popping the hood and seeing everything fresh.
I wouldn’t. They’re not made for car engines and can leave nasty residues or even corrode things over time. Stick with automotive degreasers; they’re designed to break down the kind of oily grime engines collect without hurting plastics, rubber, or paint. The right product will save you a headache later.
Oh, plenty. First off, the engine must be cold, not “warm enough to touch,” I mean cold-cold. Disconnect the battery so you’re not risking a short. Cover things like the alternator, exposed fuses, the intake, and anything else that really shouldn’t get soaked. Plastic bags or foil work fine. Be gentle around wiring and sensors you’re there to clean, not to unplug half the car. And whatever you cover, remember to take it off when you’re done (trust me, people forget).


Revive your ride anytime, anywhere
Schedule AppointmentQuestions? Call us now!