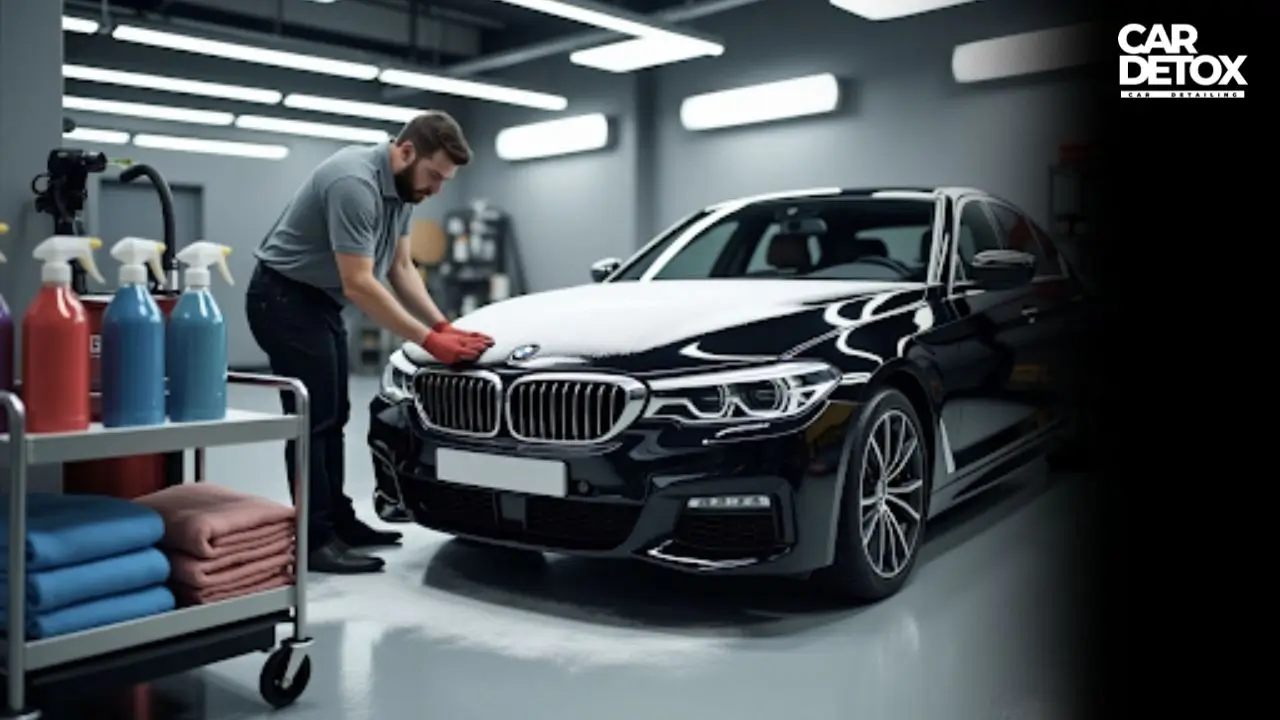
A proper car detailing routine does more than just wash your car. An auto detailing checklist helps preserve your vehicle's value. It enhances driving comfort and keeps that fresh, polished look.
Details make all the difference in car detailing. Ferrari owners understand their vehicle's materials need care inside and out. Regular drivers want to protect their investment, too. A well-laid-out car detailing checklist helps avoid mistakes. Heavy grime breaks down with a deep clean using citrus-based shampoo. The right sealant application provides up to 12 months of protection and shine with proper care. Make your car look new again — schedule Car Detox detailing today. Let's take a closer look!
Why a Car Detailing Checklist Matters
Starting a vehicle detailing routine without a plan is like driving without directions. A good auto detailing checklist will be your guide to getting exceptional results and long-term benefits.
Preserve vehicle value and appearance.
Cars lose value over time, but regular, thorough detailing slows this process by a lot. Vehicles that get professional detailing can sell for 10-15% more than similar vehicles that weren't managed to keep well. This goes beyond looks—professional detailers tackle problems that affect your car's long-term value.
Professional detailing shields your vehicle from environmental threats that speed up aging. The right detailing process has exterior treatments that protect against UV damage and rust. Your car's interior gets conditioning that stops leather and fabric from wearing out. A deep clean removes contaminants that harm both your looks and your health.
Avoid common detailing mistakes.
A car detailing checklist helps you dodge mistakes that can get pricey and harm your vehicle instead of protecting it. Here are common detailing mistakes people make:
- Using the wrong cleaning products on sensitive surfaces
- Washing in direct sunlight that leads to water spots and streaks
- Cleaning wheels last, letting brake dust spread to clean paint
- Using household sponges and towels that leave tiny scratches
- Racing through the job instead of taking time
These mistakes affect more than just looks—they can damage your car's surfaces forever and drop its value over time.
Benefits of using an auto detailing checklist template
An auto detailing checklist template offers many more advantages than just keeping things organized. You won't miss any steps. This helps a lot, especially when you're tired during longer detailing sessions.
A well-laid-out checklist optimizes your workflow. Detailing businesses save time since they don't need to create new procedures from scratch.
On top of that, it helps you check your work—this matters most for spots you might miss during long detailing sessions. Your helpers or assistants get clear instructions, so quality stays high no matter who does the work.
The best results come when you customize your checklist to your car's needs, based on the season, vehicle type, and materials.
Step-by-Step Exterior Detailing

A systematic approach leads to excellent exterior detailing results. Here's your auto detailing checklist to achieve a showroom finish on your vehicle's exterior.
Rinse and foam pre-wash
The best detailing process starts with proper pre-washing. Your first step is to rinse your vehicle to remove loose dirt and debris. Next, use a foam cannon to apply a thick foam pre-wash. This vital step helps loosen contaminants and minimizes the risk of wash-induced swirls and scratches when you touch the paint. Let the foam sit for 3-5 minutes (don't let it dry) and rinse it from top to bottom.
Hand washing and drying techniques
The two-bucket method works best after pre-washing - one bucket with soapy water and another to rinse your mitt. Start at the top and work down in small sections with light pressure. Clean horizontal surfaces with straight front-to-back motions. Vertical surfaces need up and down strokes.
Water spots won't be an issue if you dry your car the right way. Let water sheet off the surfaces naturally first. Then pat dry with quality microfiber towels using gentle pressure. A blower helps reach tight spots and crevices that towels can't reach.
Wheel wells, tires, and brake dust removal
Smart detailers clean wheels first since they collect the most dirt. This strategy keeps brake dust and grime from splashing onto clean paint. Pick a wheel cleaner that matches your wheel type and clean one wheel at a time. Spray degreaser on wheel wells before rinsing. Special brushes help remove brake dust between spokes and inner barrels.
Paint decontamination and clay bar use
Your paint still holds embedded contaminants after washing. The decontamination process needs:
- Chemical decontamination: Iron remover breaks down metallic particles
- Tar removal: Solvent-based products clear organic residues
- Clay bar treatment: Glide lubricated clay across surfaces to lift remaining bonded contaminants
A dropped clay bar must be thrown away because ground grit sticks to it and can scratch your paint.
Polishing and swirl mark removal
Polishing brings back shine and removes minor flaws. Pick your polish and pad combo based on paint condition. Safety comes first - start with mild abrasives and increase strength only if needed. Random orbital polishers give beginners better control and reduce the risk of paint damage. Polish small sections while watching your speed and pressure to avoid creating new swirls.
Your car detailing checklist template helps ensure you cover every spot during each step.
Interior Detailing Essentials
Your vehicle's interior needs the same care as its exterior when detailing. A full picture of interior cleaning not only boosts comfort but also maintains your car's value as time passes.
Vacuuming and dust removal
Take out all personal items and floor mats before you start vacuuming. A high-powered vacuum with proper attachments helps reach tight spaces effectively. The best approach is to work from top to bottom - start with the headliner, move to the dashboard, then seats, and finish with the floor. A soft-bristle brush loosens stubborn dirt before you vacuum. The dirt typically hides in seams and crevices, so these areas need extra attention.
Cleaning vents, knobs, and tight spaces
Air vents collect dust that creates aesthetic and health problems. A soft detailing brush or foam paintbrush works well between vent slats. You can wrap a microfiber towel around your fingertip to clean buttons and knobs precisely. Note that cleaners should never go directly into vents or electronic controls - always apply them to your cleaning tool first.
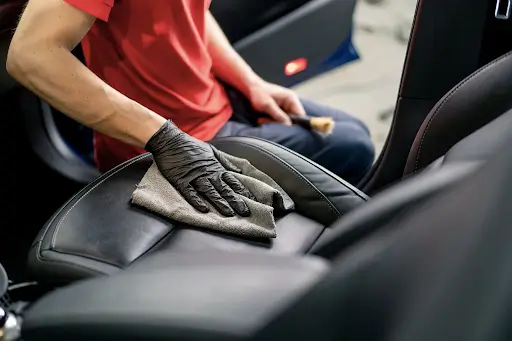
Leather conditioning and fabric protection
Leather surfaces need conditioning after cleaning to avoid drying and cracking. Use a clean applicator pad to work the conditioner into the leather with gentle circular motions. Fabric upholstery benefits from products like Scotchgard that create an invisible protective barrier. This barrier blocks stains and repels liquids while keeping the fabric's texture and look intact. The protection makes future spill cleanup substantially easier.
Glass cleaning for a streak-free finish
You can get crystal-clear windows using ammonia-free glass cleaner that won't harm tinted windows. The secret to avoiding streaks is to apply cleaner to your microfiber towel instead of the glass directly. Clean each side differently - use horizontal strokes on one side and vertical on the other. This method helps you spot which side has streaks.
Protect and Maintain Your Finish
You just need to protect the finish after really cleaning your vehicle. This becomes your priority on your auto detailing checklist. The right protection will prevent damage and keep that coveted showroom shine.
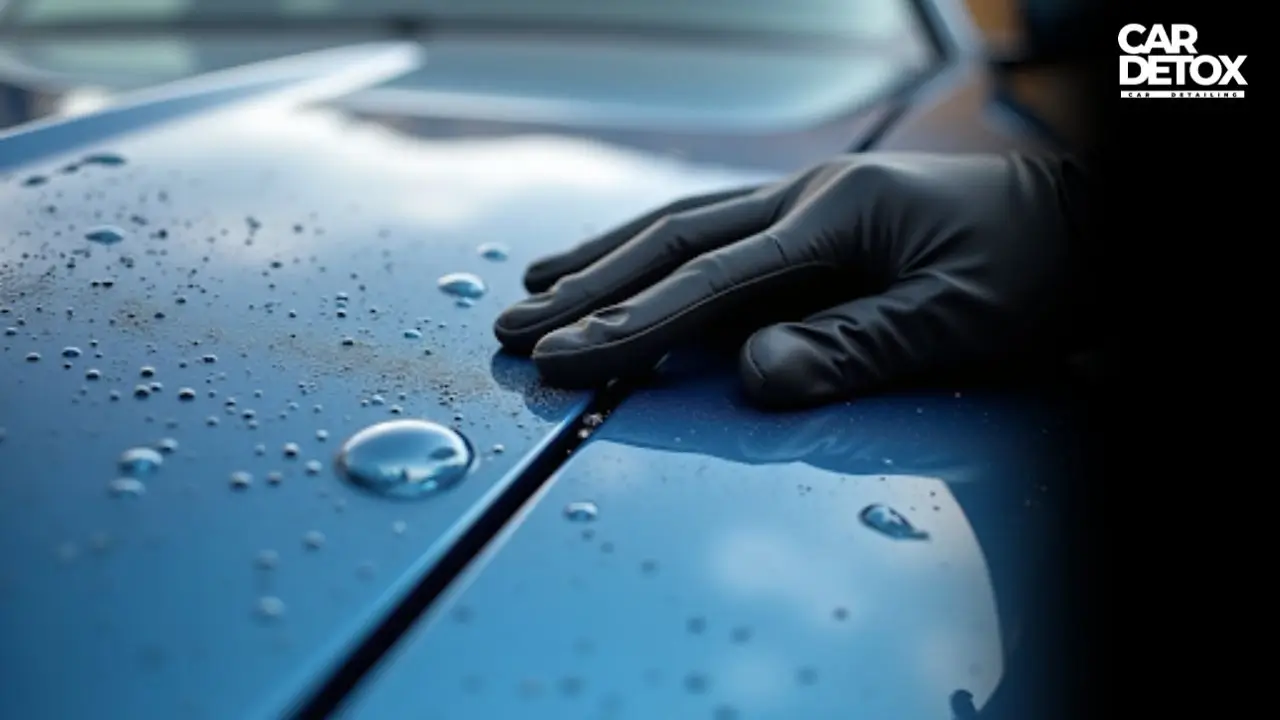
Choosing between wax, sealant, and ceramic coating
The protection you choose depends on how long you want it to last and the finish you're looking for. Carnauba wax gives a warm, deep shine that's perfect for show cars but lasts only 2-3 months. Synthetic sealants protect for 4-6 months with a sleeker finish. Ceramic coatings are a great way to get maximum protection that creates a semi-permanent bond lasting 2-5 years and enhances water repellency.
How to apply and layer protection products
The right application will give optimal results. You should work in thin, straight lines with waxes and sealants—never circles—to prevent swirls. Products need complete curing between layers. Ceramic coatings require 24-48 hours before you add more layers. New paint needs 30-90 days before you can apply any protective products.
Using quick detailers for touch-ups
Quick detailers help maintain your car between washes. They remove dust and fingerprints while boosting shine. Quality detailers repel contaminants, unlike many products that create static electricity and attract dust. These work great for light cleaning and protection enhancement.
Creating a seasonal car detail checklist
Your car needs protection year-round. Apply durable wax or sealant early in the fall, then boost it with spray wax before winter hits. The lower panels need extra protection from road salt and debris. Spring is perfect for deep cleaning, while summer calls for UV protection.
Conclusion
Auto detailing goes nowhere near just keeping your car clean. This detailed process helps preserve your vehicle's value and improves your driving experience. This piece explores the key steps you need to achieve professional-quality results right at home.
A well-laid-out checklist makes the difference between amateur cleaning and professional detailing. Your vehicle needs this systematic approach. The process starts with proper pre-washing techniques, moves through deep exterior and interior cleaning, and ends with protective products that guard against environmental damage.
Your detailing approach should change with the seasons. Winter calls for extra protection against road salt. Summer needs better UV protection. It also helps to use quick detailers between full sessions to keep that showroom shine. Get a customized detailing plan for your car at Car Detox.
FAQs
Start with interior cleaning, then move to tires, wheels, and the engine compartment. Next, wash the exterior, polish if needed, apply protection products, and finish with final touches. Always clean your detailing tools last.
For standard detailing services, it's customary to tip between 10% to 15% of the total service cost. However, the exact amount can vary based on the quality of service and your satisfaction.
Essential auto detailing products include car shampoo, microfiber towels, a clay bar, polish, wax or sealant, interior cleaner, glass cleaner, wheel cleaner, and appropriate brushes and applicators.
For optimal maintenance, aim to detail your car every 4-6 months. However, this can vary based on factors like climate, driving conditions, and how often you wash your vehicle. Quick touch-ups between full details can help maintain appearance.
Waxing provides a warm shine and short-term protection (2-3 months), while ceramic coating offers a sleeker finish and long-lasting protection (2-5 years). Ceramic coatings also provide superior water repellency and are more resistant to environmental contaminants.


Revive your ride anytime, anywhere
Schedule AppointmentQuestions? Call us now!