
Leather seats are one of the best upgrades a car can have. They feel premium, they age beautifully — and they can last the entire life of your vehicle if you treat them right.
The problem? Most car owners clean their leather seats the wrong way. They use the wrong products, skip conditioning, or apply too much moisture — and slowly turn beautiful, supple leather into dry, cracked, faded upholstery that looks twice its age.
This guide covers exactly how to clean leather car seats without damaging them — the right tools, the right technique, stain-specific removal, and the one step most people skip that makes all the difference.
Key Takeaways:
- Always vacuum before applying any cleaning product — skipping this step turns dirt into sandpaper that scratches your leather.
- Never spray cleaner directly onto leather — apply it to your cloth or brush first.
- Conditioning after every clean is non-negotiable — it’s what keeps leather soft, flexible, and crack-free for years.
Know Your Leather Type First
Here’s something most cleaning guides skip entirely — and it matters more than any product you buy.
Not all automotive leather is the same. Using the wrong approach for your leather type can cause discoloration, drying, or damage. Here are the four main types found in cars today:
1. Pigmented (Protected) Leather: The most common type in modern vehicles. It has a durable, factory-applied coating that resists stains and wear. This is the most forgiving to clean — pH-neutral cleaners and standard conditioning work well. Most mainstream cars from Toyota, Honda, Ford, and GM use pigmented leather.
2. Semi-Aniline Leather: A step up in quality. It has a light protective coating but still shows the leather’s natural grain and texture. Found in mid-range luxury vehicles. Clean gently — it’s slightly more absorbent than pigmented leather and more sensitive to excess moisture.
3. Aniline Leather: The most premium and most delicate type. No surface coating — just pure, natural leather dyed throughout. Found in high-end vehicles like Rolls-Royce, some Bentleys, and top-trim BMW and Mercedes models. This leather absorbs liquids instantly. Use only dedicated aniline leather cleaners and minimal moisture.
4. Perforated Leather Found across all quality levels and common in sports and luxury cars. The tiny holes provide ventilation but create a cleaning challenge — excess liquid can seep through and cause mold or mildew in the padding underneath. Never spray cleaner directly on perforated seats. Always apply the product to your clothes first.
Quick tip: Not sure what type you have? Check your owner’s manual or look up your car’s trim level online. When in doubt, treat it as the most delicate option.
What You’ll Need
Keep it simple. You don’t need a garage full of products — just the right ones:
- Vacuum cleaner with soft brush attachment
- pH-neutral leather cleaner (specifically formulated for automotive leather)
- Soft-bristle horsehair brush or dedicated leather cleaning brush
- Microfiber cloths — at least 3 to 4 clean ones per session
- Leather conditioner (separate from the cleaner)
- Distilled water — important for rinsing, especially in Portland, where tap water is mineral-rich and can leave spots on light-colored leather
What to avoid completely:
- Bleach or ammonia-based cleaners
- Alcohol-based products (dry leather rapidly)
- Baby wipes or household wet wipes (contain chemicals that degrade leather over time)
- Olive oil or cooking oils as DIY conditioners (go rancid and attract bacteria)
- Dish soap is used undiluted
Step-by-Step: How to Clean Leather Car Seats
Step 1 — Vacuum Thoroughly
This step is more important than most people realize.
Any dirt, grit, or debris left on the surface will mix with your cleaning solution and act like sandpaper across the leather’s surface. That causes fine scratches and accelerates wear on the finish.
Use a vacuum with a soft brush attachment. Work across the entire seat surface, down the seatback, and deep into every seam and crevice. Pay special attention to the seat base where crumbs and debris collect most heavily. Take your time — rushing this step leads to scratches during the clean.
Step 2 — Do a Spot Test
Before applying any cleaner to the full seat, test it on a small, hidden area — the underside of the seat or a corner of the seatback works well.
Apply a small amount, wait 60 seconds, and check for any discoloration, texture change, or reaction. This takes 2 minutes and can save you from a very expensive mistake — especially on aniline or semi-aniline leather.
Step 3 — Apply Cleaner to Your Cloth — Not the Seat
This is the rule most people break — and it causes the most damage.
Spraying cleaner directly onto the leather, especially perforated leather, introduces too much moisture at once. It soaks into seams, sits in perforations, and over time breeds mold in the seat’s padding. In Portland’s humid climate, this is a very real risk.
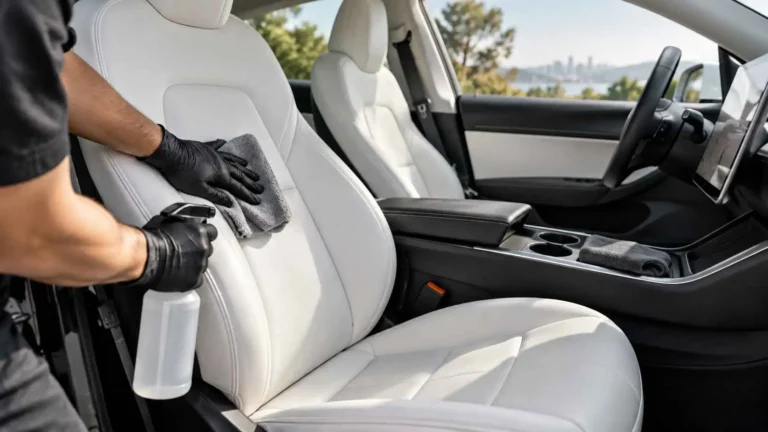
Always apply your leather cleaner to your microfiber cloth or horsehair brush first. Work in small sections — one panel at a time. Use gentle, overlapping strokes in a crosshatch pattern (horizontal then vertical) to lift dirt from the leather’s pores without pushing it deeper.
Step 4 — Scrub Gently and Work the Foam
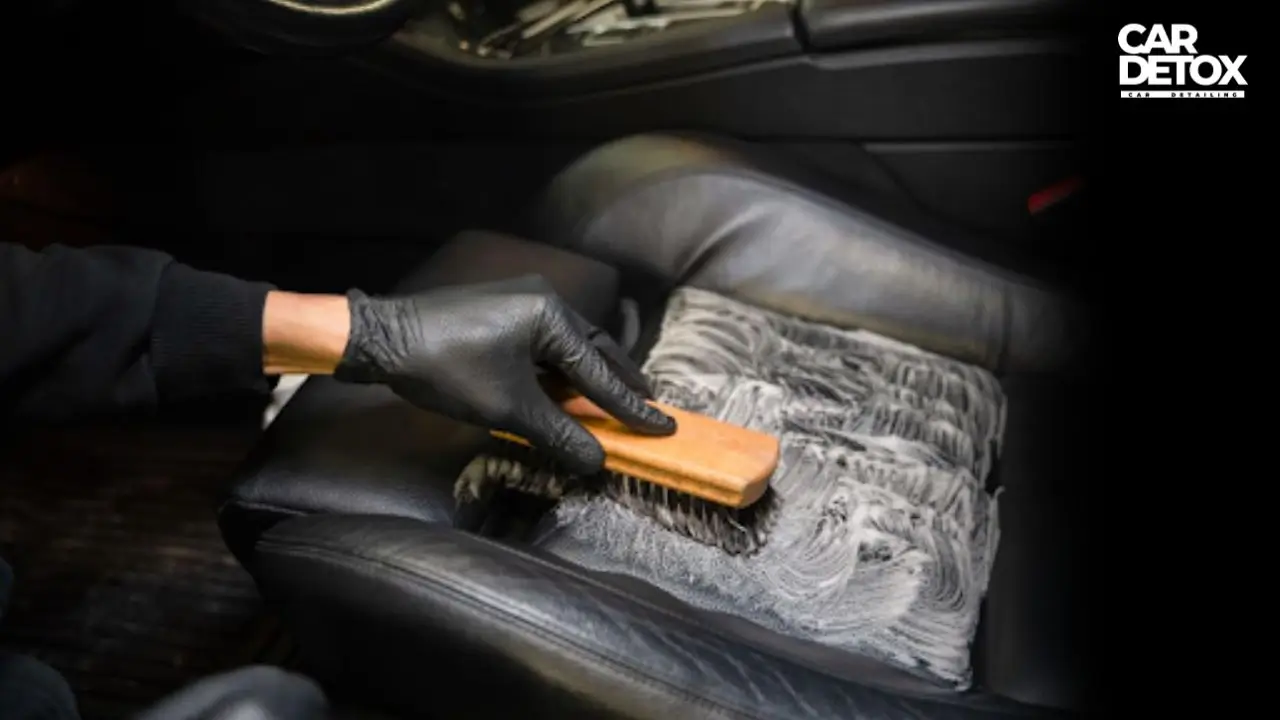
As you clean, the leather cleaner will foam slightly. That’s a good sign — it means it’s lifting dirt from the pores.
Use your soft-bristle brush for textured or heavily soiled areas. Use your microfiber cloth for lighter cleaning and smooth surfaces. Never scrub hard or in aggressive circular motions — this creates micro-scratches and wears down pigmented leather’s protective finish over time.
For stitching and seams, use the tip of the brush to work out dirt that collects in the thread. These areas accumulate body oils and grime faster than the flat leather surface.
Step 5 — Wipe Clean With a Damp Cloth
Once you’ve worked the cleaner into a section, use a clean microfiber cloth lightly dampened with distilled water to remove the lifted dirt and residue. Rinse the cloth frequently — using a dirty cloth just redistributes grime across the surface.
Don’t saturate the cloth. You want damp, not wet. The goal is to remove cleaner residue, not add more moisture to the leather.
Step 6 — Dry Immediately
Use a dry, clean microfiber cloth to remove surface moisture after each section. Don’t let the leather air dry on its own — this can cause water marks, especially on lighter leather colors.
Once the full seat is cleaned and dried, leave the car doors open for 30 to 60 minutes to allow the leather to breathe and any remaining moisture in seams to evaporate. Never use a heat gun or hair dryer — direct heat dries leather rapidly and causes cracking.
Step 7 — Condition the Leather
This is the step most car owners skip. And it’s the most important one.
Cleaning removes dirt — but it also strips some of the leather’s natural oils in the process. Without conditioning afterward, the leather dries out, loses flexibility, and eventually starts to crack and peel. Conditioning replaces those oils, keeps the leather supple, and adds a protective layer against future stains and UV damage.
Apply a thin, even layer of leather conditioner to a clean microfiber applicator pad. Work it into the leather using gentle, circular motions. Cover the entire seat, including the seatback, headrest, and side bolsters. Allow it to absorb for 1 to 2 hours, then buff away any excess with a clean microfiber cloth.
For our interior detailing service, we always condition after every leather clean — it’s the difference between seats that last 5 years and seats that last 15.
How to Remove Common Leather Seat Stains
Generic cleaning handles everyday grime. Specific stains need a targeted approach.
Grease and food oil stains: Sprinkle a small amount of baking soda directly on the stain. Let it sit for 1 to 2 hours to absorb the oil, then brush away gently with a soft brush. Follow with your standard leather cleaner. Do not rub the baking soda into the leather — let it sit and absorb.
Ink stains: Dab — don’t rub — a cotton swab lightly moistened with rubbing alcohol directly on the ink mark. Work from the outside of the stain inward to avoid spreading. Wipe immediately with a clean microfiber cloth and condition the area thoroughly afterward, as alcohol is drying to leather.
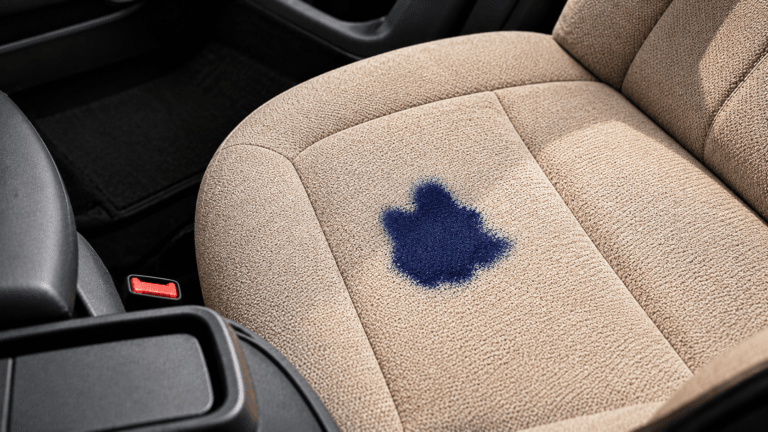
Dye transfer (from dark clothing or jeans): This is one of the most common stains on light-colored leather — the blue transfer from denim is a classic. Use a dedicated leather dye transfer remover or a gentle application of leather cleaner with a soft brush. Multiple light passes work better than one aggressive scrub.
Mold and mildew (common in Portland’s humid winters): Mix equal parts distilled white vinegar and distilled water. Apply a microfiber cloth and gently wipe the affected area. Vinegar’s acidity kills mold spores without damaging most sealed leathers. Follow with a thorough conditioning treatment. If mold has penetrated deeply into seams, our car detailing service in Portland team handles full leather mold remediation with professional-grade treatments.
Dried food or sticky residue: Dampen a cloth with warm distilled water and lay it over the residue for 60 seconds to soften it. Gently lift the softened residue — never pick or scrape with a fingernail. Follow with standard leather cleaner.
The Leather Health Check — Do This Every Month
Here’s something no competitor covers — a simple 30-second test to assess your leather’s condition before every clean:
- Water bead test — Drop a few drops of distilled water on a flat section of the seat. If they bead up and sit on the surface, your leather’s protective coating is intact. If they soak in immediately, the leather is dry and needs immediate conditioning.
- Finger drag test — Run a clean, dry finger firmly across the seat. If the leather feels smooth and slightly slick, it’s well-conditioned. If it feels dry, rough, or slightly sticky, it needs conditioning.
- Colour rub test — Rub a white microfiber cloth firmly across the leather. If colour transfers to the cloth, your leather’s dye is unstable, or the finish is degrading — a sign it needs professional attention.
How Often Should You Clean Leather Car Seats?
| Usage | Cleaning Frequency | Conditioning Frequency |
| Daily driver | Every 4 to 6 weeks | Every 2 to 3 months |
| Weekend / occasional use | Every 2 to 3 months | Every 3 to 4 months |
| Luxury/show car | After every use | Monthly |
| After spills | Immediately | Same session |
When to Call a Professional
DIY cleaning handles regular maintenance beautifully. But some situations call for professional attention:
- Deep-set stains that have been there for months
- Mold or mildew in the seams or underneath the surface
- Cracking, peeling, or colour fading across large sections
- Dye transfer that won’t respond to home treatment
- Aniline leather that needs specialized care beyond standard products
Our interior detailing service in Tualatin and car detailing in Tigard includes full leather cleaning, conditioning, and restoration — bringing neglected leather back to life with professional-grade products and techniques.
Want your leather seats professionally cleaned and conditioned? Book an appointment with CarDetox US, and our Portland-area detailing team will restore your leather to its original softness and shine.
Frequently Asked Questions
A pH-neutral leather cleaner specifically formulated for automotive use, applied with a microfiber cloth or soft horsehair brush. Always condition after cleaning.
In a pinch, very diluted mild dish soap (1 part soap to 5 parts distilled water) is acceptable for pigmented leather. Avoid it on aniline or semi-aniline leather and never use it undiluted.
Vacuum thoroughly, apply leather cleaner section by section with a horsehair brush, work into seams and stitching, wipe clean with a damp microfiber cloth, dry immediately, and condition fully afterward.
Every 4 to 6 weeks for daily drivers. Condition every 2 to 3 months. Clean immediately after any spill, regardless of schedule.
Diluted white vinegar (for mold/mildew), very mild diluted dish soap, and baking soda (for oil stains) are the safest household options. Always test on a hidden area first.